Oct 30, 2026Dental Guides
Impression Tray Selection for Dental Alginate: Perforated vs. Rim-Lock & Adhesive Rules
Over 60% of dental alginate distortion comes from wrong tray selection or missing retention. Compare perforated vs. rim-lock trays, the 3–5 mm clearance rule, and adhesive tips.
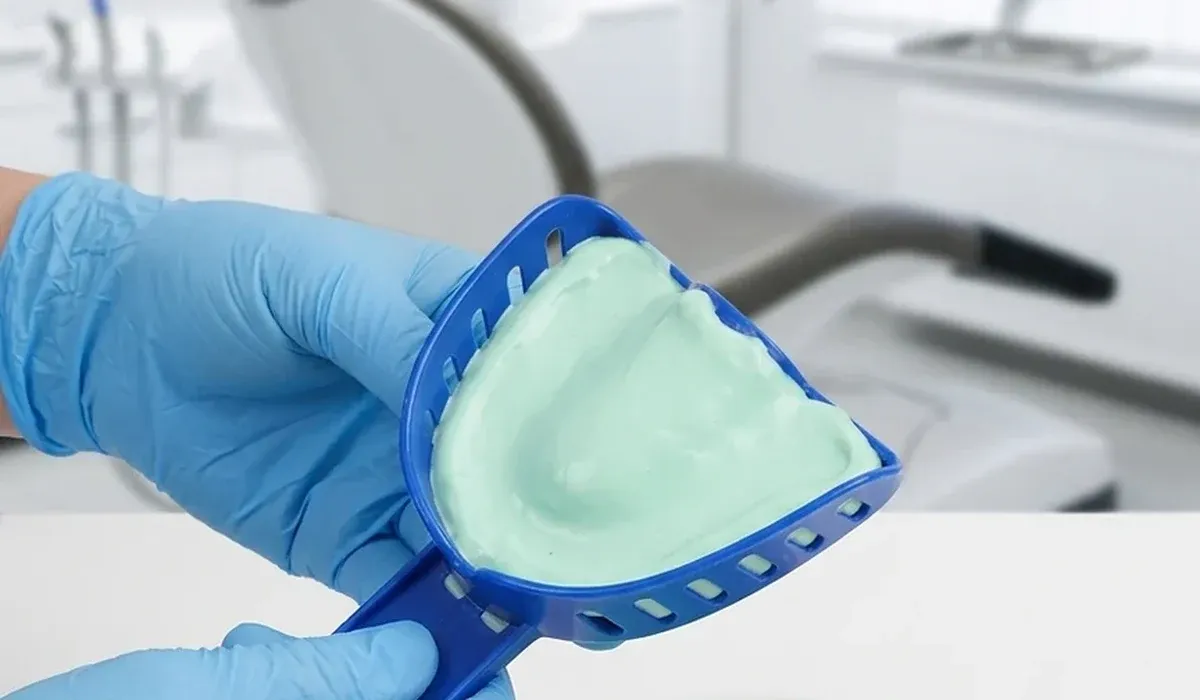
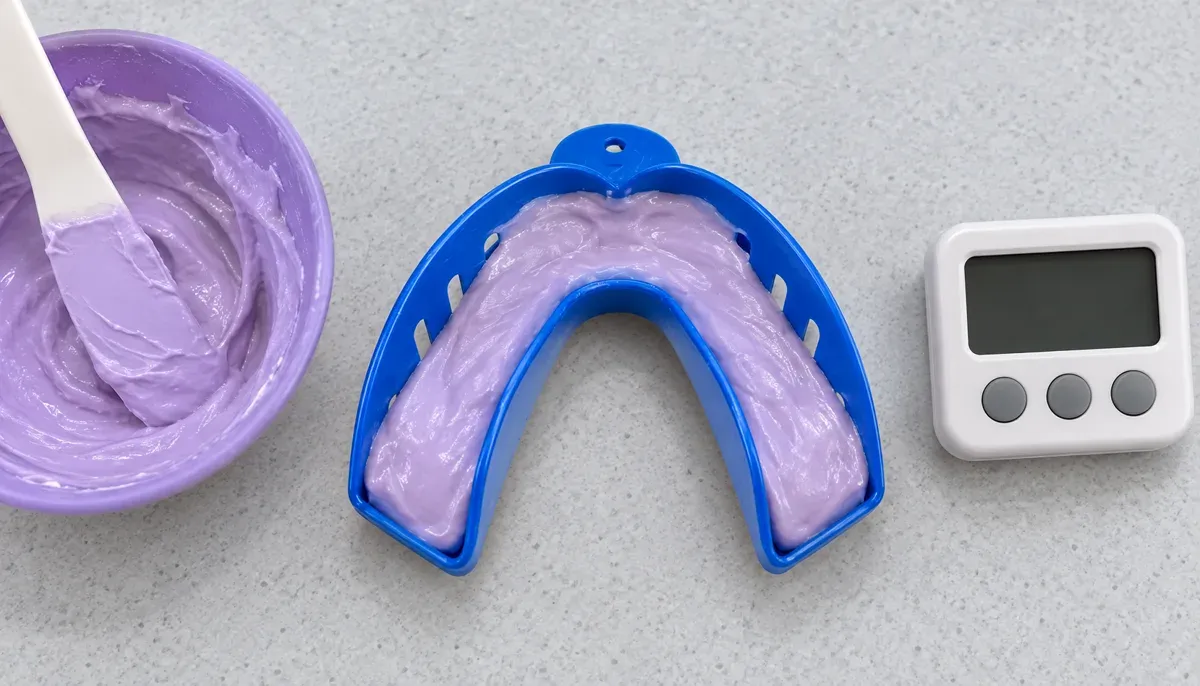
When an alginate impression tears along the palatal vault, pulls away from the tray wall during removal, or produces an artificially narrow stone arch, clinics routinely suspect the impression powder. In practice, over 60% of dimensional distortion in hydrocolloid impressions is caused by improper tray selection, insufficient arch clearance, or missing tray retention.
Because set dental alginate does not chemically bond to plastic or stainless steel on its own, the impression tray acts as the external skeleton that controls elastic recovery (
97%–98%). This clinical guide explains how to match perforated, rim-lock, and custom trays with Algident dental alginate grades for distortion-free models.Key Takeaways (For Chairside Operators & Dental Distributors)
- Enforce the 3–5 mm Clearance Rule: Maintain
3 mm to 5 mmof uniform space between tooth undercuts and the inner tray wall so hydrogel compression stays safely below the ISO 21563 permanent deformation threshold (15%).
- Eliminate Flexible Disposable Trays on Precision Cases: Thin plastic trays flex outward during intraoral seating and rebound inward upon removal, producing artificially narrow gypsum stone casts.
- Lock Down Smooth Flanges with Alginate Adhesive: Extrude
2–3 mm“mushroom rivets” through perforated trays and apply polyamide-based hydrocolloid tray adhesive to rim-lock or unperforated borders.
- Match Tray Rigidity to Alginate Grade: Pair Universal Alginate / Chromatic Alginate with rigid perforated stock trays, and pair High Precision / Super High Precision with stainless steel or rim-lock trays.
1. Tray Geometry & Retention Comparison Matrix
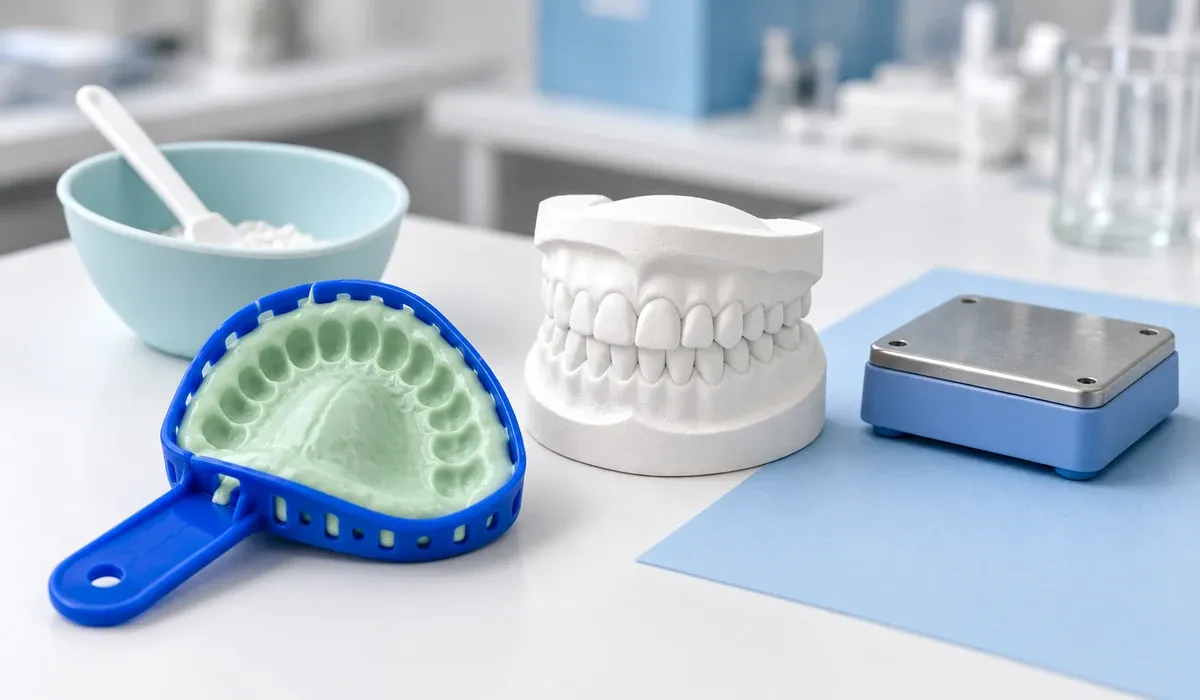
Different clinical cases require different levels of tray rigidity and mechanical locking. Use this comparison table to standardize tray selection across chairside operatories:
Tray Type | Retention Mechanism | Rigidity & Arch Stability | Best Clinical Application | Tray Adhesive Needed? |
|---|---|---|---|---|
Perforated Metal Trays (Stainless Steel / Aluminum) | Mechanical extrusion (“mushroom locks”) through 1.5–2.0 mm holes | Maximum rigidity: zero lateral flex during seating or removal | Optional on body; recommended along unperforated periphery | |
Rigid Perforated Plastic Trays (High-Impact Polystyrene / ABS) | Mechanical locking through slots and palatal perforations + integral rim ridge | High rigidity: suitable for 90% of routine diagnostic and ortho work | Recommended on smooth peripheral borders | |
Rim-Lock Solid Metal Trays (Non-Perforated) | Peripheral undercut bead along labial/lingual flanges traps hydrogel | Maximum rigidity: builds high hydrostatic seating pressure for mucostatic detail | Deep vestibular sulcus capture, edentulous or high-precision local impressions | Mandatory: thin coat of alginate tray adhesive required across inner wall |
Thin Flexible Disposable Plastic Trays | Shallow slots; thin wall flexes under finger pressure | Low rigidity (High Risk): flexes outward during seating and springs inward upon removal | Not recommended for precision work; causes narrow casts and premature occlusal contacts | Mandatory if used |
(For the complete 6-step chairside mixing and pouring sequence, see our Complete Alginate Workflow Guide.)
2. The Golden Rule of Tray Sizing: 3 mm to 5 mm Uniform Clearance
Irreversible hydrocolloid impression materials are engineered to compress slightly when pulled past tooth undercuts (the height of contour) and rebound immediately to their original shape (
97% elastic recovery for Algident Universal; 98% for Super High Precision).However, elastic recovery depends directly on hydrogel cross-sectional thickness:
- What Happens When Clearance Is
<2 mm(Tray Too Small): When a tooth cusp or labial undercut sits within1 mmof the rigid tray wall, pulling the tray over the undercut compresses that thin sliver of alginate by40%–60%—far exceeding the ISO 21563 permanent deformation limit (15%). The hydrogel either tears permanently or remains compressed, producing an inaccurate stone tooth.
- What Happens When Clearance Exceeds
8 mm(Tray Too Large): Excessive unsupported bulk in the palatal vault or retromolar pad sags under gravity before gelation completes (~3 minutestotal setting time at20°C–23°Cfor Universal grade) and magnifies thermal/syneresis shrinkage prior to pouring.
- Chairside Try-In Check: Always try the empty sterile tray in the patient’s mouth before mixing powder. Verify
3 mm to 5 mmof space between the facial/lingual tooth surfaces and the inner tray wall, and ensure the distal border extends2–3 mmpast the last molar tuberosity or retromolar pad.
3. How to Prevent Tray Separation (“Delamination”) During Snap Removal
The single most dangerous defect in an alginate impression is silent tray separation—where the lingual flange of the alginate pulls
1–2 mm away from the tray wall during intraoral removal. Because the hydrogel remains intact, the assistant may not notice the gap before pouring gypsum stone, resulting in a warped arch cast.Follow four chairside retention rules to lock the impression into the tray:
- Exude
2–3 mmThrough Perforations During Loading: When loading mixed alginate into a perforated tray, press the paste firmly with the flat spatula blade so small “rivets” of material push through the holes to the outer surface. These cured rivets anchor the impression mechanically during axial snap removal.
- Apply Alginate-Specific Tray Adhesive to Smooth Borders: Do not confuse silicone (PVS) adhesive with alginate (hydrocolloid) adhesive—they are chemically incompatible. Apply a thin layer of polyamide-based alginate adhesive to solid rim-lock trays or smooth plastic flanges and allow
2–3 minutesfor the solvent to evaporate until tacky before loading.
- Add Utility Wax Palatal / Posterior Stops: Pressing a rope of soft utility wax along the posterior palatal border and labial vestibule of a stock tray serves three purposes: it prevents tissue-to-metal contact, creates a
4 mmintraoral thickness stop, and dams excess paste from flowing toward the soft palate (reducing patient gagging).
- Never Rock the Tray Side-to-Side: Even the strongest perforations will shear if an operator rocks or twists the tray handle during removal. Break the peripheral seal with a gloved finger in the buccal vestibule, then unseat with one fast axial snap parallel to the long axis of the teeth (see 7 Causes of Alginate Impression Remakes).
4. PO Line-Item & Clinic Pairing Checklist for Distributors
When dental supply distributors equip multi-chair clinics or prepare hospital tender submissions, use this structured specification table to match tray accessories with Algident dental grades:
Department / Clinical Case | Recommended Algident SKU | ISO 21563 Key Specs | Recommended Tray & Pack Configuration on PO |
|---|---|---|---|
Orthodontics, Pediatric & Study Models | >0.5 MPa strength, 97% recovery, ~3 min Universal total set | 500 g foil pouches (24 bags/carton) + rigid perforated anatomical trays | |
Removable Partial Dentures (RPD) & Frameworks | >0.55 MPa strength, 20 μm detail reproduction | 500 g foil pouches + perforated stainless steel stock trays | |
Prosthodontic Study Dies & High-Detail Arches | >0.6 MPa strength, 98% elastic recovery, 20 μm detail | 500 g foil pouches + rim-lock metal trays with polyamide adhesive |
Related Products & Buyer Guides
- Matched Product Pages: Universal Alginate | Chromatic Alginate | High Precision Alginate | Super High Precision Alginate
- Clinical & Technical Guides: Dental Alginate Grades Explained | Gypsum Stone Compatibility Guide | Alginate Mixing & Water Temperature Guide | Algident Technology Overview
- Sourcing & Trial Orders: Clinic Sample Evaluation Feedback Sheet | WhatsApp Wholesale Quote Checklist | Wholesale & OEM Program
Contact our Shanghai export team for samples and factory quotations:
WhatsApp: +86 180 1638 1172 | Email: info@algident.com | Request a Quote Online
Algident · Shanghai Even Medical Instruments Co., Ltd.